

How To Repair Fiberglass Tub Hole
I will admit in the past I have paid over $one,500 to get a tub surround replaced which could have been fixed with this solution. Since so I accept learned a few things and 1 of those things is how to repair holes in a fiberglass surround ensuring a watertight surface and something that isn't an eyesore.
For this project, I used Devcon Fiberglass, Porcelain, and Plastic Repair Kit, which was near a $xiii investment, plus a few other tools I already had in my garage (see below). While the procedure is fairly easy, it does have a little patience when it comes to sanding the surface for a smooth end.
Note: You tin can also use the epoxy on cracks and other minor knicks in your tub surrounds – information technology'southward non just for spiral holes.
If you'd rather watch than read, check out the YouTube video below.👇
Tools:
- Devcon Repair Kit (White/Almond) ** this works on fiberglass, porcelain, and plastic
- Sandpaper (Assorted)
- Painter's Tape
- 1-gallon ziplock purse (cutting it into square sheets)
- Toothpicks
DISCLAIMER: This weblog contains chapter links, which means that if yous click on 1 of the production links, I'll receive a pocket-sized committee.
How to Patch and Filling Spiral Holes in a Fiberglass Bathtub – 7 Steps
For this example, I was patching screw holes left behind after I removed a glass shower door from my tub/shower surround. Overall I had a total of 6 holes to fill and I ordered two kits and did 1 side (3 holes) at a time. This Playlist shows the whole project on our YouTube Channel.
ane. Section Off Area with Painter's Tape
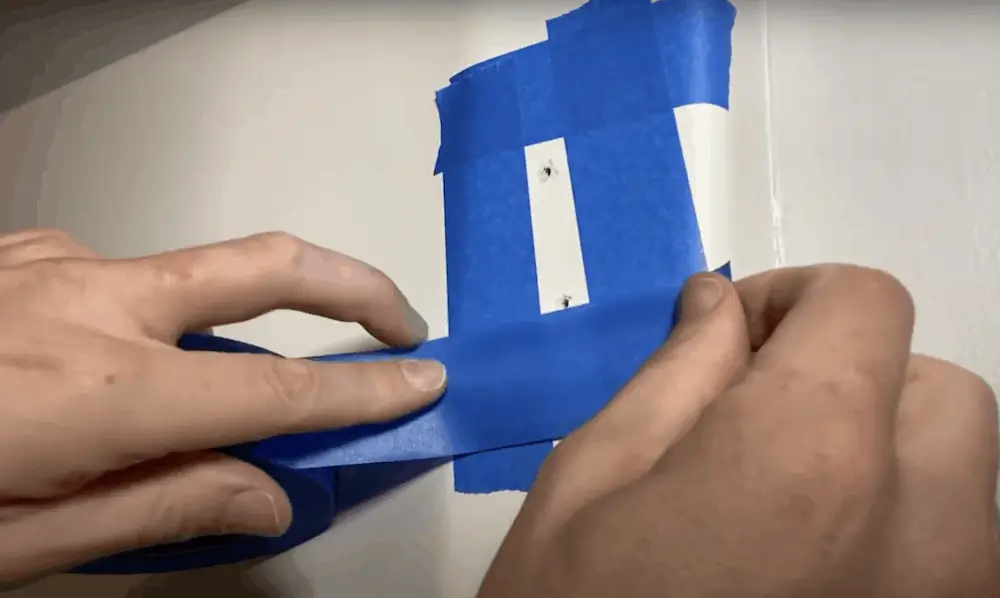
Before you exercise anything with the epoxy kit, prep the surface past sectioning off the holes with painter's record. I like to brand a box shape around each pigsty. This will contain the epoxy when it runs and it will assist later on on when yous start sanding the area. Besides, ensure the surface has no loose pieces and is completely clean of whatever oils or remainder.
two. Clasp & Mix the Epoxy
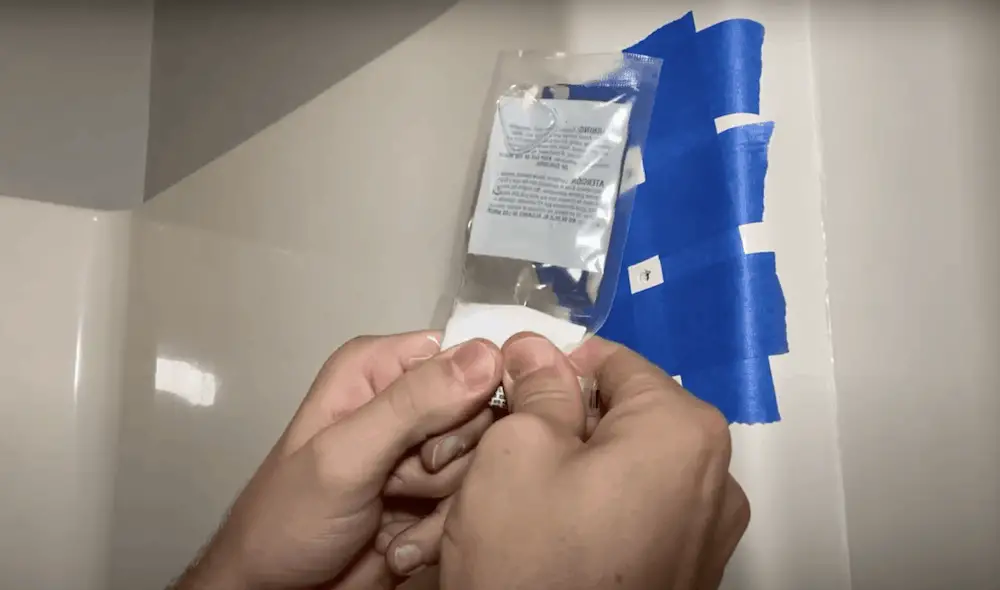
With the Devcon Repair Kit, press the epoxy from the bottom of the packet. Keep to mix it with your hands for about 45 seconds to ensure yous take a complete mix. (I and then added the almond colour to the epoxy since my bathtub is almond-colored.)
Warning: You lot only have about 5 minutes of working time before the epoxy starts to firm upwardly and so make sure you have everything ready once you get to this step.
3. Fill in Screw Holes with Epoxy
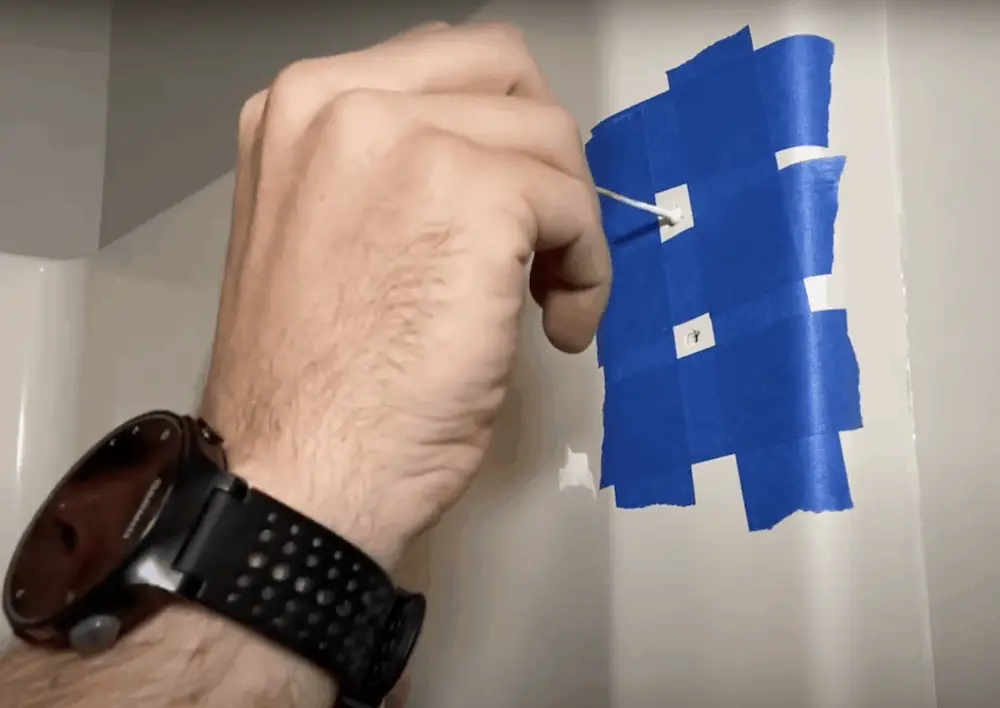
Using the toothpick, identify the epoxy directly in the screw holes. It's ok if it drips out a little. Y'all'll exist adding more epoxy in the next step. Since my holes were small I simply used epoxy if you have a larger hole and demand boosted strength the kit will come with some cobweb mesh to cover the larger hole and provide the additional strength once dry.
four. Castor Actress Epoxy on Holes
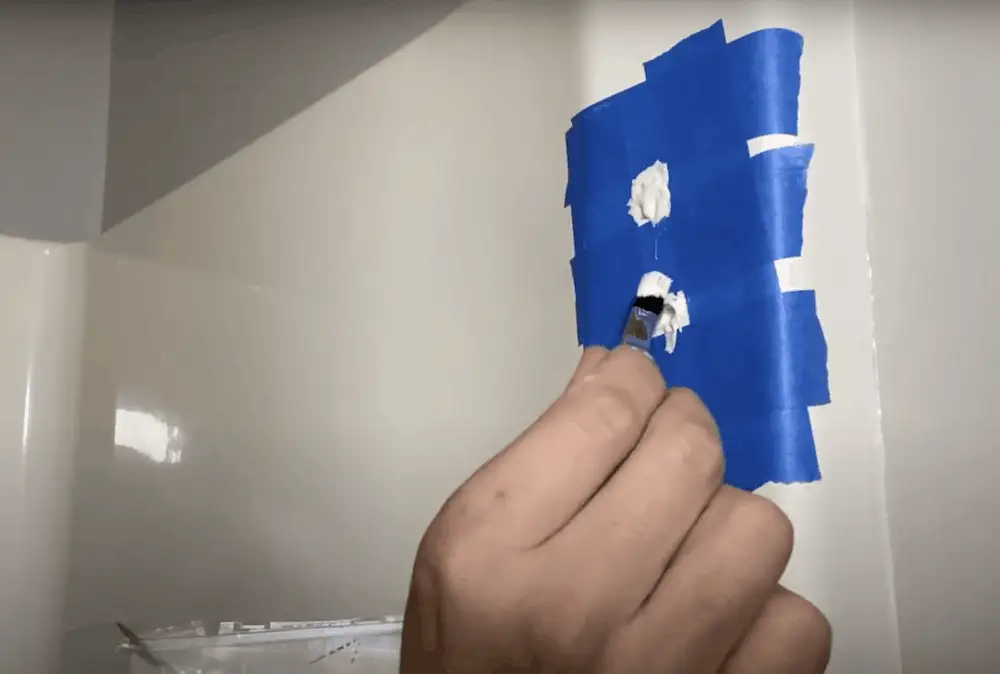
Castor and spread out the epoxy. Be sure to build it up so you have a little extra. Don't worry, I know it looks gunky! You'll use the ziplock plastic sheets to smooth information technology out in the next step.
5. Place Plastic on the Epoxy and Tap Over Them
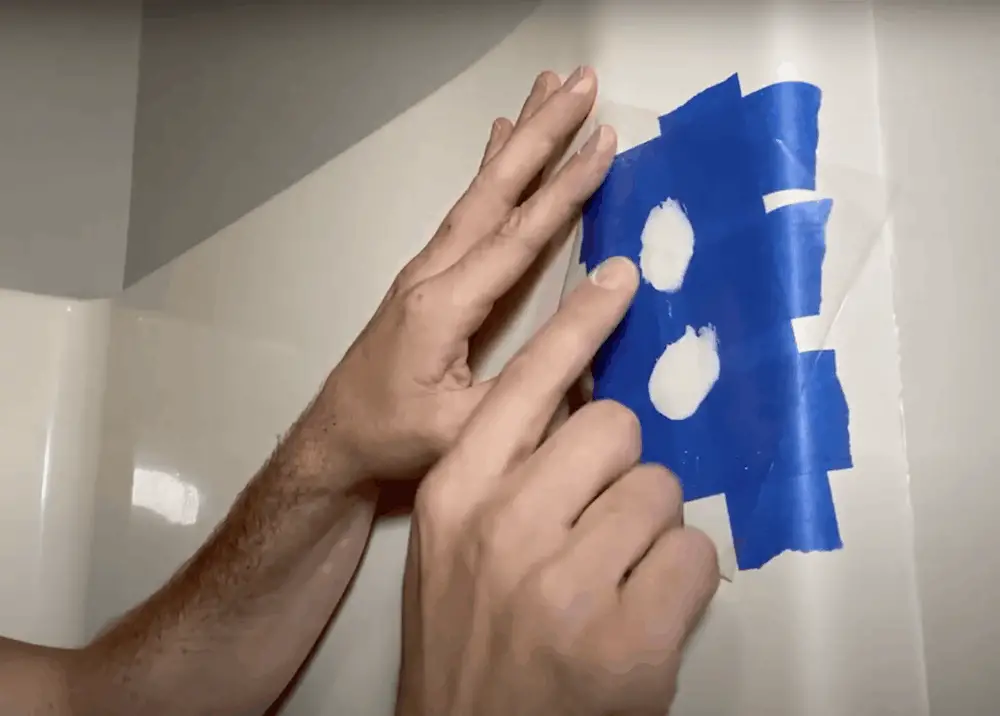
Place the plastic canvass over the holes filled with epoxy. Then, tap over the area to go the air bubbles out and polish out the surface. Don't worry one time everything is dry (I let information technology sit for 2-3 hours) the ziplock bad will come right off without whatever issue.
6. Sandpaper Over the Holes
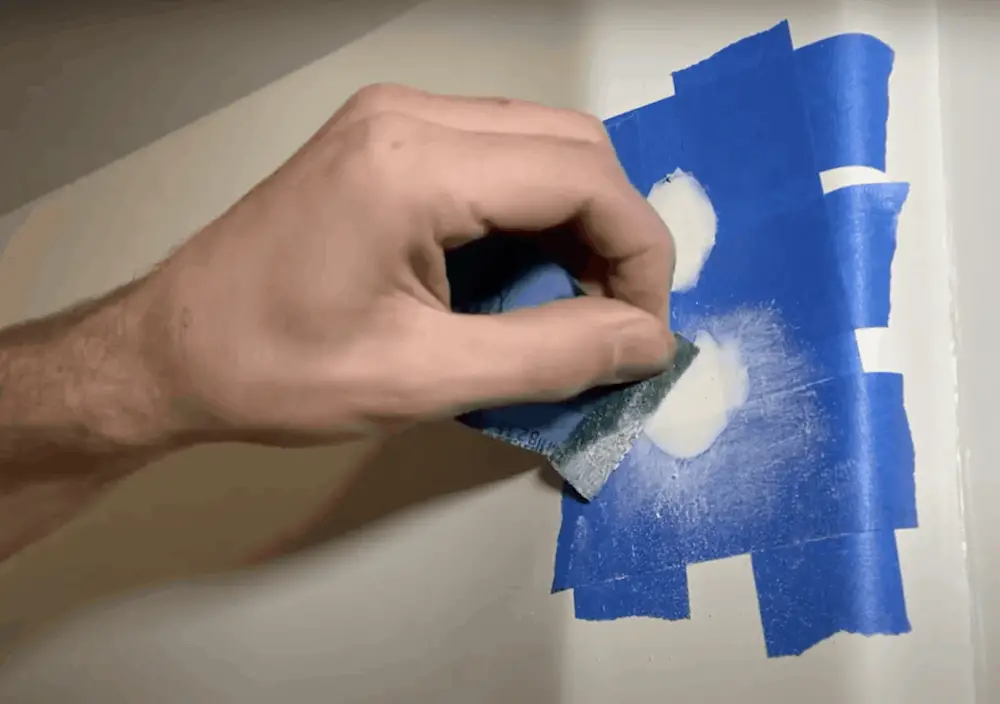
Remove the plastic sheet and sand over the epoxy with 60 grit sandpaper. This is the roughest sandpaper I used and is meant to quickly remove the excess epoxy. Do non sand the surface of your tub surroundings with this sandpaper or it volition remove the terminate.
7. Peel Record Off & Sandpaper Again
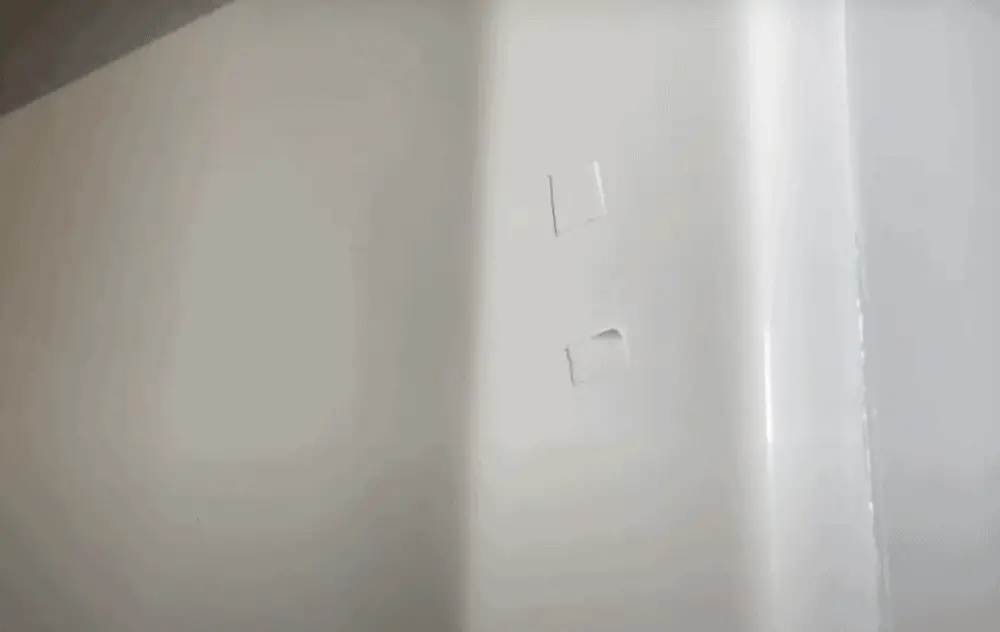
Skin the painter's tape off and go back over the epoxy with more sandpaper. Switch to 320 grit sandpaper and go along to sand. Finally, switch again to 600 dust and keep to sand until smoothen.
Pro tip: Add a footling water to the surface as you're sanding for the smoothest cease.
The Wrap Up
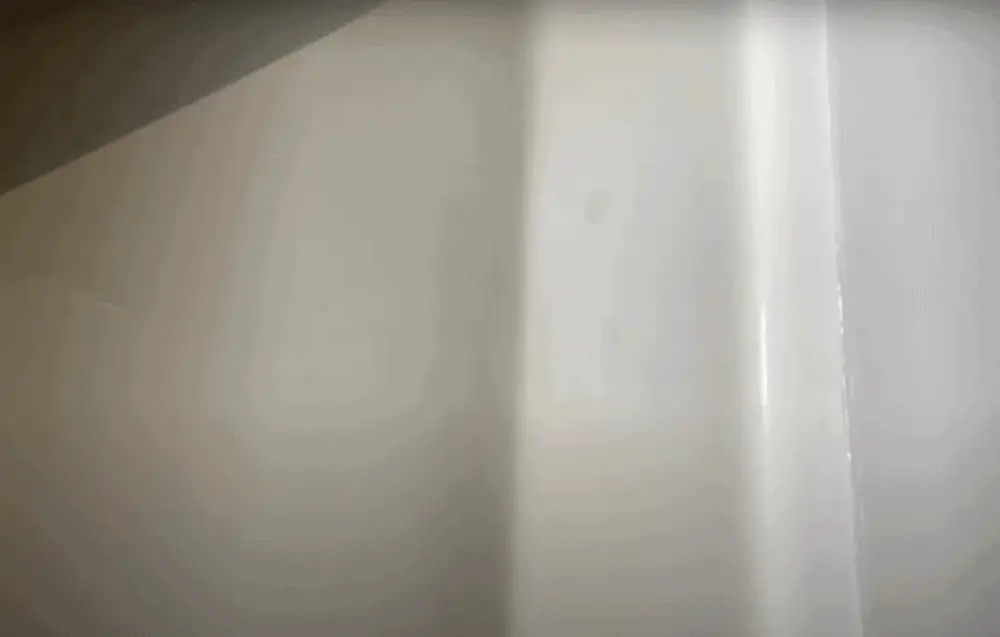
Overall, I was pleasantly surprised with the Devcon Epoxy Bathtub Repair Kit. The almond finish matched surprisingly well and I was happy with the flush end. I also ended up putting a mantle rod up, which fabricated the patched-up holes barely noticeable. But let me know what yous think. If y'all've tried this project, feel gratuitous to share what worked for you in the comments beneath… or let me know what y'all'd do differently.
Watch more videos of dwelling repair projects at the Everyday Home Repairs Youtube Aqueduct .

Source: https://everydayhomerepairs.com/how-to-fill-and-repair-a-hole-in-a-fiberglass-bathtub-surround/
Posted by: robertsonentoo1945.blogspot.com
0 Response to "How To Repair Fiberglass Tub Hole"
Post a Comment